|
|
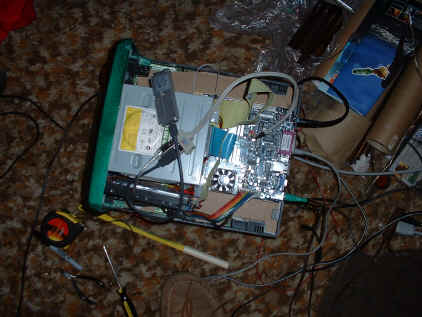
| The slimline USB hub is epoxied to the top of the CD drive. As you can tell, room is very tight. The RAM is actually under the CD drive. And the IDE cables are beyond that. |
This is the PC without the top cover. Everything is in there. Although I did have a decent amount of room to work with, I wish I had more.
|
|
| The slimline USB hub is epoxied to the top of the CD drive. As you can tell, room is very tight. The RAM is actually under the CD drive. And the IDE cables are beyond that. |
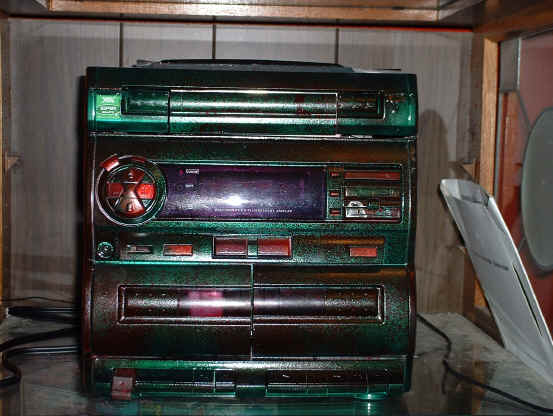
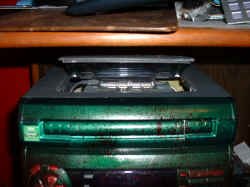
Here is the final product. It has taken a long time, and cost me a fair amount of money.
|
|
| Here it is, all done. The look is very cool, I think. The stereo has a silver base under a transparent Green Metal Flake enamel, with a Candy Red dusting. The buttons are dark grey with a Candy Red enamel, and a Green Metal Flake dusting. |
|
And here are all the smaller things that I put in. |
|
|
|
|
|
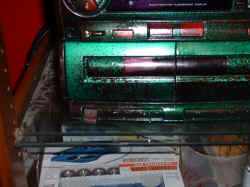
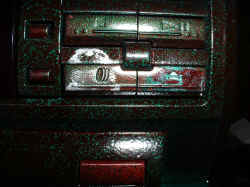
There is the USB record button. It is the red one. |
Here is my stealth CD drive in unstealth mode. |
|
|
|
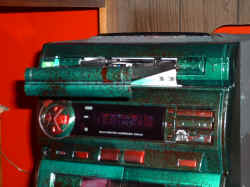
| Right there is my four port USB hub. | The power button* and the eject button. |
|
|
* The first case mod I
ever did was just a simple paint, to point out the power button I
used my thumb print. Ever since, I have used my thumb print to
point out the power button.
For both the power and eject button I used existing switches, and soldered to them what was needed for functionality. The eject is soldered to the eject button on the CD. And power is soldered to the power switch ribbon i made. |
|
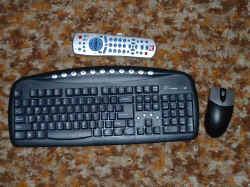
My keyboard, mouse, and remote. |
|
|
The Breakdown |
Over all, I would have to say that I am very pleased with what I have done. I ran into a lot of little problems, like interference. Also for some reason, when the RCA inputs (the inputs that have the audio coming from the mobo) on the Stereo's circuit board were grounded I got video interference. And for some reason, when the USB drive is hooked up when booting, it won't boot. But, trying to cram all the pieces in there was the hardest issue.
Please, if you have any questions or comments, email me wotnartd@hotmail.com